Are you planning the lighting for a new kitchen or renovation? The fixtures may look simple on a drawing, but their position, brightness and controls will affect how the kitchen works every day.
A good lighting plan does more than brighten the room. It helps you prepare food safely, reduces shadows over work areas and makes cabinetry, countertops and finishes look their best.
This guide compares the main kitchen lighting options and explains how to combine them without filling the ceiling with unnecessary fixtures.
Quick answer
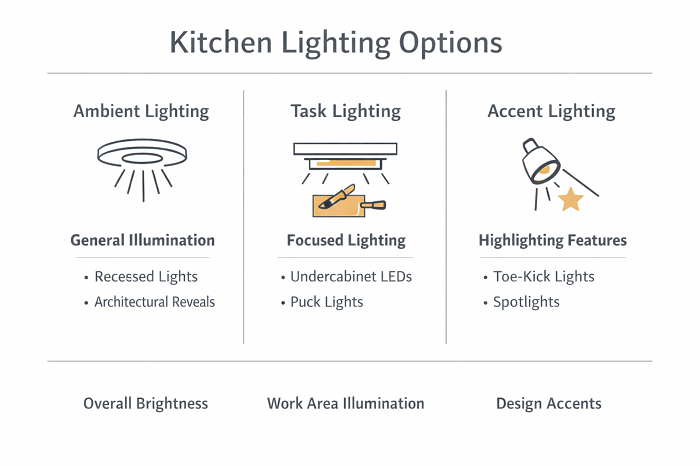
A functional kitchen normally uses three lighting layers: ambient lighting for the whole room, task lighting for counters and work areas, and accent lighting for selected architectural details. Decorative fixtures can then add character without carrying the full lighting load.
A complete kitchen lighting plan should cover
- General room lighting
- Countertop and sink lighting
- Island or peninsula lighting
- Cabinet, pantry and display lighting
- Dimmers and separate lighting zones
- Glare and shadow control
- Access for maintenance and future replacement
The Three Layers of Kitchen Lighting
Relying on one fixture type often leaves some areas too bright and others too dark. Layered lighting allows each group of fixtures to perform a specific job.
Layer one
Ambient Lighting
Ambient lighting provides the general light needed to move safely through the kitchen. Recessed lights, flush-mount fixtures and indirect ceiling lighting are common options.
Layer two
Task Lighting
Task lighting illuminates areas where you prepare food, wash dishes, read labels and use appliances. Undercabinet lighting is one of the most useful task-lighting options because ceiling lights may place your body between the fixture and the counter.
Layer three
Accent Lighting
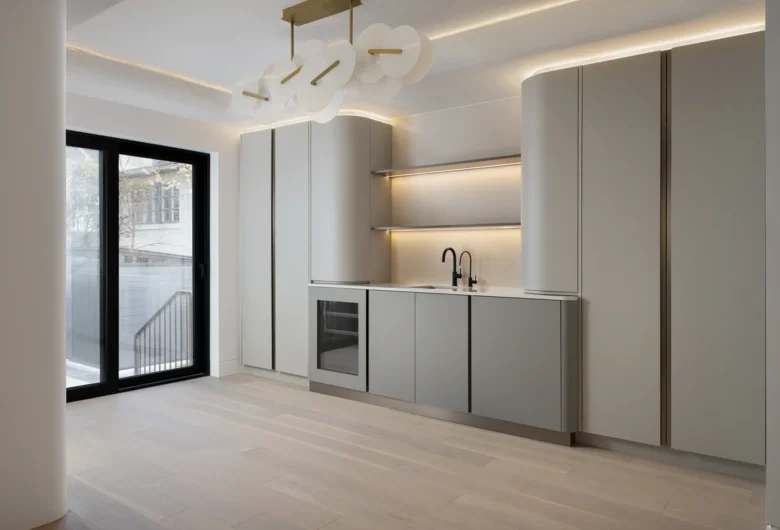
Accent lighting draws attention to a backsplash, display cabinet, stone surface or architectural detail. It should support the design rather than compete with the light required for cooking and cleaning.
Kitchen Lighting Options Compared
Recessed Lights
Best use: General room lighting
Main benefit: Creates a clean ceiling appearance
Planning concern: Poor spacing can create dark areas or excessive glare.
Undercabinet LED Lights
Best use: Counters and food preparation areas
Main benefit: Reduces shadows on work surfaces
Planning concern: The LED strip and driver should be concealed but remain accessible for maintenance.
Pendant Lights
Best use: Islands and peninsulas
Main benefit: Adds focused light and visual character
Planning concern: Incorrect height can block views or create glare.
Flush-Mount Fixtures
Best use: Smaller kitchens and lower ceilings
Main benefit: Provides broad light from one central fixture
Planning concern: Additional task lighting may still be needed around countertops.
Track Lighting
Best use: Flexible directional lighting
Main benefit: Fixtures can be aimed at different work areas
Planning concern: The visible track may not suit every kitchen design.
In-Cabinet Lighting
Best use: Glass cabinets and display shelves
Main benefit: Highlights selected objects and materials
Planning concern: Wiring should be hidden and the light should remain evenly distributed.
Toe-Kick Lighting
Best use: Low-level accent or night lighting
Main benefit: Creates a soft glow near the floor
Planning concern: It should remain subtle and easy to clean.
Ambient Lighting for the Whole Kitchen
Ambient lighting should make the room comfortable to enter and use without relying on pendants or undercabinet strips. The number of fixtures depends on the room size, ceiling height, cabinet layout and available natural light.
Recessed lights should be placed according to the work areas and cabinetry rather than arranged as an automatic grid. A fixture directly behind where you stand may cast your shadow onto the counter.
In a smaller kitchen, a well-selected flush-mount fixture combined with undercabinet lighting may provide a cleaner result than adding many recessed lights.
More fixtures do not always mean better lighting
Too many bright ceiling lights can create glare and make the room feel flat. Start with the areas that require light, then select the fixture type and beam spread.
Task Lighting for Counters and Work Areas
Countertops underneath wall cabinets often need their own lighting. Undercabinet LED strips can provide continuous illumination across the work surface without the visible bright spots created by widely spaced puck lights.
Positioning the light closer to the front of the cabinet can help distribute it across the counter and reduce shadows. A diffuser can soften the individual LED points and protect the strip from kitchen dust.
Areas that may need dedicated task lighting
- ✓ Food preparation counters
- ✓ The sink and cleanup area
- ✓ The cooktop or range
- ✓ A baking or appliance station
- ✓ Pantry shelving
- ✓ A desk or household planning area
Pendant Lighting Above an Island
Pendant lights can make an island feel like a defined part of the kitchen. However, the fixture should be selected according to the island length, ceiling height and surrounding sightlines.
A common starting point is to hang the bottom of a pendant about 30 to 36 inches above the countertop. The final height should be adjusted for the fixture size and the people using the kitchen.
A large island does not automatically require three pendants. One linear fixture, two wider pendants or several smaller fixtures may each work depending on the scale of the room.
Check pendant placement from every direction
- Will the fixtures block the view across the kitchen?
- Are they centred on the island rather than the room?
- Will cabinet or appliance doors hit them?
- Do they provide useful light without shining into your eyes?
- Can they be cleaned and serviced safely?
Accent and Cabinet Lighting
Accent lighting works best when it is used selectively. Lighting every cabinet, shelf, toe-kick and ceiling detail can make the kitchen feel busy and difficult to control.
Consider adding accent lighting where it supports a clear feature, such as a glass cabinet, textured backsplash or open display shelf. Concealed strips should be positioned so the light source is not directly visible.
Interior cabinet lighting may use a door sensor so it turns on only when needed. This is particularly useful in deep pantry cabinets and appliance storage areas.
Choosing Kitchen Light Colour
Colour temperature describes whether white light appears warm, neutral or cool. It is measured in kelvins and can change how cabinet colours, food and stone surfaces appear.
2700K: Warm and Relaxed
This warmer light can work well in traditional kitchens and areas designed mainly for evening dining or accent lighting.
3000K: Warm but Clear
This is a balanced choice for many residential kitchens because it feels comfortable while keeping work surfaces clear.
3500K: Neutral and Crisp
This neutral tone may suit contemporary kitchens and detailed task areas where a cleaner white appearance is preferred.
4000K: Cooler and Work-Focused
This cooler light may be used in selected task areas, although some homeowners find it less comfortable for evening residential spaces.
Avoid choosing colour temperature from a small sample viewed in a showroom. Test it beside your actual cabinetry, countertop and flooring when possible.
A colour rendering index, or CRI, of 90 or higher can help colours and food appear more natural. It is also helpful to keep the main lighting layers reasonably consistent, especially in an open-concept kitchen connected to other rooms.
Dimmers, Zones and Smart Controls
Every kitchen fixture does not need to operate from one switch. Separate zones give you more control and prevent the room from being either fully bright or completely dark.
Useful lighting zones may include:
- General ceiling lights
- Island pendants
- Undercabinet task lights
- Display and cabinet lights
- Toe-kick or low-level evening lights
Dimmers can help the kitchen shift from food preparation to dining or entertaining. Make sure the dimmer, driver and LED fixtures are compatible, as an incorrect combination may cause flickering or limited dimming.
Smart controls can provide preset scenes, schedules and remote control. Standard wall switches should still be easy to understand so the kitchen remains practical for family members and guests.
Common Kitchen Lighting Mistakes
Using Pendants as the Only Island Lighting
Decorative pendants may not provide even task lighting across the entire island. Their light output and beam direction should be reviewed before relying on them.
Placing Recessed Lights Behind the User
This can place your shadow directly over the sink or countertop. Fixture placement should relate to the front edge of the work area.
Mixing Several Different White Tones
Warm pendants, cool undercabinet strips and neutral ceiling lights can make finishes appear inconsistent when all layers are on.
Forgetting the Lighting Drivers
LED drivers and control equipment should be concealed, ventilated and accessible for future service.
Choosing Fixtures Before Finalizing the Layout
Cabinet positions, island size and appliance locations should be confirmed before electrical rough-in and fixture placement.
How to Plan Kitchen Lighting
Finalize the Kitchen Layout
Confirm cabinets, appliances, sinks, islands and main circulation paths before placing fixtures.
Mark the Work Areas
Identify where food preparation, cooking, cleaning, serving and appliance use will happen.
Build the Three Lighting Layers
Plan ambient and task lighting first, then add selected decorative and accent fixtures.
Create Separate Controls
Group fixtures according to how and when they will be used rather than putting everything on one circuit.
Review the Plan Before Rough-In
Check fixture centres, switch positions, driver locations and cabinet details before the walls and ceilings are closed.
Electrical work must be planned safely
In Ontario, homeowners hiring someone to complete electrical work should use a Licensed Electrical Contractor. Review the Electrical Safety Authority’s electrical work guidance before construction begins.
Planning Lighting as Part of a Kitchen Renovation
Lighting should be coordinated with the kitchen layout, ceiling plan, cabinetry and electrical work. Leaving it until the end can result in misplaced fixtures, exposed wiring or expensive changes.
Start with the complete kitchen renovation planning guide if you are still organizing the overall project.
You can also review the best kitchen remodel ideas for guidance on layouts, storage and finishes, or explore the factors affecting kitchen renovation costs in Toronto.
A coordinated design-build process can help connect the lighting plan with the cabinetry, electrical work, materials and construction schedule.
Frequently Asked Questions
What are the three main types of kitchen lighting?
The three main layers are ambient lighting for general brightness, task lighting for counters and work areas, and accent lighting for selected design features.
What is the best colour temperature for kitchen lighting?
Many residential kitchens use lighting between 2700K and 3500K. Warmer light creates a relaxed appearance, while neutral light can provide a crisper view of work surfaces. Test the light beside your actual finishes before making a final choice.
Do I need undercabinet lighting?
Undercabinet lighting is useful when wall cabinets create shadows over the countertop. It provides direct task lighting for food preparation, cleaning and reading labels.
How high should pendant lights be above a kitchen island?
A common starting point is about 30 to 36 inches between the countertop and the bottom of the pendant. The correct height depends on the fixture size, ceiling height and sightlines through the room.
Should kitchen lights be placed on separate switches?
Yes. Separate controls for ceiling lights, pendants, undercabinet lights and accents give you better control over brightness and allow each layer to be used when needed.
When should kitchen lighting be planned?
Plan the lighting after the main kitchen layout is established but before electrical rough-in. This allows fixtures, switches, drivers and wiring to be coordinated with the cabinetry and appliances.
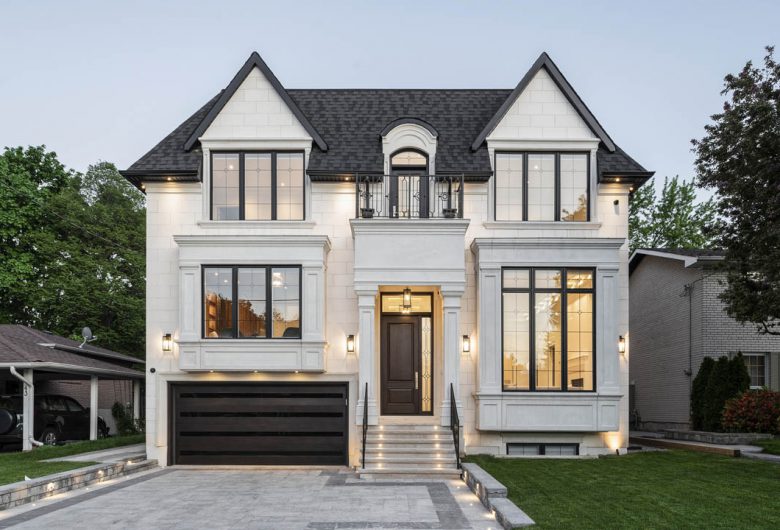
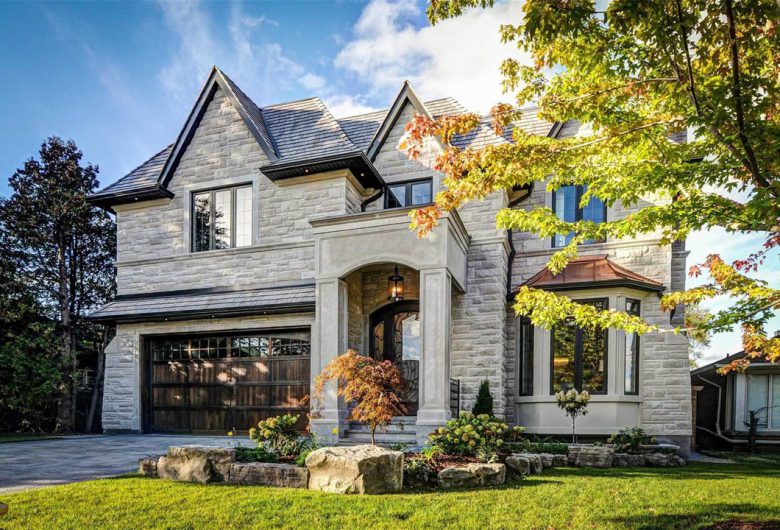
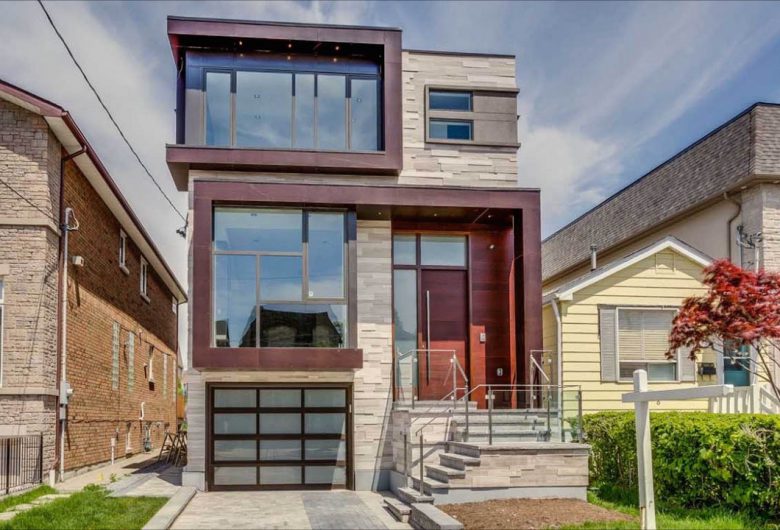
View Odima’s custom home portfolio for examples of kitchens, cabinetry and lighting details.
Planning your kitchen lighting?
Odima Construction can help coordinate the layout, cabinetry, lighting and electrical requirements as part of a complete kitchen project.